Your roof is too important to trust just anyone. Choosing a reliable, experienced commercial roofing contractor is essential for ensuring that your repairs are thorough, code-compliant, and built to last.
What to Look For:
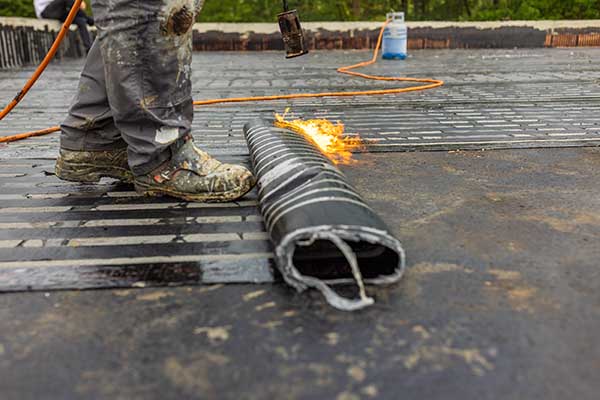
- Commercial Roofing Expertise: Not all roofers have experience with commercial systems like TPO, EPDM, or built-up roofing.
- Licensing and Insurance: Ensure they are fully licensed and carry liability and workers’ compensation insurance.
- Storm Damage Experience: Ask if they’ve worked with insurance adjusters and are familiar with claim processes.
- Warranty on Repairs: A trustworthy contractor will stand by their work with a labor warranty.
Working with a contractor who understands the unique needs of commercial properties—like tenant safety, equipment protection, and minimal business disruption—is a must.
Step 6: Approve a Repair Plan That Prioritizes Business Continuity
Roof repairs can interfere with business operations if not properly managed. Work with your commercial roofing contractor to plan a repair timeline that minimizes disruptions.
Ask About:
- Work hours and noise management
- Safety barriers or access restrictions
- Weather forecasting to avoid mid-repair exposure
- Phased repairs if only certain areas are affected
This is especially important for multi-tenant commercial properties, warehouses, or office buildings where daily operations can’t pause for extended repairs.
Step 7: Understand What Repairs May Entail
Depending on the severity of the damage, your roof repair may range from minor patching to extensive membrane or decking replacement.
Common Repair Types Post-Storm:
- Membrane Resealing or Replacement: For punctures, tears, or wind damage to TPO, PVC, or EPDM membranes.
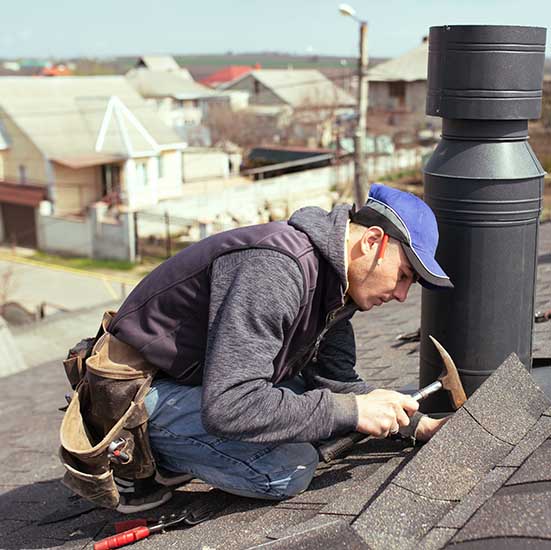
- Flashings and Edge Repairs: Wind can loosen flashing, leading to leaks if not secured or replaced.
- Drainage System Restoration: Clogged or broken drains must be cleared or replaced to prevent ponding water.
- Insulation Replacement: Wet or compressed insulation loses effectiveness and can lead to mold.
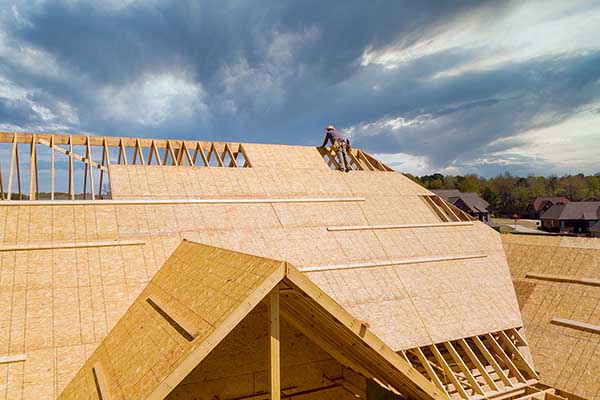
- Structural Deck Repair: Severe water intrusion may require deck inspection and reinforcement.
Your roofer will assess the full scope of needed repairs and provide a plan and timeline for each stage.
Step 8: Final Inspection and Warranty
Once repairs are complete, a final inspection ensures that all work has been done to standard. It’s also the time to ensure that your roofer provides:
- A written summary of completed work
- A warranty for labor and materials
- Recommendations for ongoing maintenance
Keep this documentation in your building maintenance records for future reference, resale considerations, or lease agreements.
Step 9: Build a Long-Term Roof Maintenance Plan
Storms aren’t always predictable, but a proper maintenance plan puts you in a position to act quickly and confidently when they do happen. Work with your contractor to develop a strategy that includes:
- Biannual roof inspections (spring and fall)
- Post-storm follow-ups after major weather events
- Preventative maintenance such as clearing debris, checking flashing, and sealing seams
- Budgeting for repairs before they become emergencies
This proactive approach minimizes your exposure to damage and ensures you’re never caught off-guard when the next storm rolls through.
Step 10: Communicate with Stakeholders
One often-overlooked but critical part of post-storm commercial roof repair is keeping everyone in the loop. If your commercial property houses employees, tenants, customers, or partners, they deserve to be informed about what’s happening—and how it might affect them.
Why Communication Matters:
Clear communication prevents confusion, frustration, and potential liability. It shows professionalism and helps maintain trust with tenants or clients who depend on the space for their own business operations.
What to Share:
- Timeline of Repairs: Let stakeholders know when work will begin, how long it’s expected to last, and what phases are planned.
- Access Changes: If certain entrances, parking lots, or areas of the building will be restricted, inform occupants well in advance.
- Safety Measures: Communicate how safety will be managed on-site—including signage, noise control, or protective barriers.
Best Practices:
- Use email or your property management system to provide regular updates.
- Post physical notices in common areas with key repair dates.
- Assign a point of contact to answer questions or handle tenant concerns directly.
Proactive communication avoids misunderstandings and shows you’re taking the situation—and their comfort—seriously.
Step 11: Turn the Experience into a Readiness Strategy
After the dust settles and your roof is restored, take time to reflect on what worked, what didn’t, and how you can improve your storm response in the future. Every storm is an opportunity to strengthen your readiness.
Create a Post-Mortem Checklist:
- Was the damage identified quickly?
- Did you have an existing relationship with a roofing contractor?
- Was the insurance process smooth or difficult?
- Were tenants or employees confused or concerned?
Use the answers to fine-tune your storm preparedness plan going forward.
Build a “Roof Recovery Kit”:
Put together a digital or physical folder that includes:
- Your roofing contractor’s contact info
- Emergency procedures for building staff
- Copies of your roof’s warranty and insurance documents
- Templates for tenant notifications
Having these resources ready will reduce decision fatigue and stress when the next storm hits—and allow you to move from reaction to resilience.
What to Avoid During Post-Storm Repairs
 Don’t Delay Action
Waiting weeks or months to repair storm damage can lead to mold, rot, and structural failure.
Don’t Hire “Storm Chasers”
Avoid fly-by-night roofing companies that appear after major storms offering cheap, fast repairs. Many leave town before problems emerge.
Don’t Rely on a Single Walkthrough
If your property is large, request multiple inspections in different areas—some problems can be localized and easily missed.
Don’t Skip the Paperwork
Always insist on a written scope of work, a detailed estimate, and proper permits if required.
Be Ready Before, During, and After the Storm
A storm-damaged roof doesn’t have to mean financial disaster or business disruption—if you know how to respond. By acting quickly, documenting thoroughly, choosing the right contractor, and implementing temporary solutions while planning for long-term repairs, you can protect your property and operations from further damage.
At Wright’s Roofing & Construction, Inc., we specialize in commercial storm damage repair and maintenance. Our team is experienced in working with insurance providers, managing complex repair projects, and helping business owners get back to normal fast—with minimal disruption. Contact us today for a commercial roof inspection and get peace of mind from the professionals who know how to keep your roof—and your business—protected.